
Are you using a Paper Shoot camera with a Windows PC and want to ensure your photo timestamps are accurate? Follow these simple steps to synchronize the time on your camera effortlessly:
1. Download the Windows TimeSync App: Head to the download link provided and install the Windows TimeSync app on your computer.2. Prepare Your Camera: Ensure that the SD card is properly inserted into your Paper Shoot camera.
3. Connect Your Camera: Connect your Paper Shoot camera to a USB port on your Windows PC using a USB cable.
4. Run the TimeSync App: Locate the "PaperShootTimeSync_win.exe" file you downloaded and click on it to initiate the time update process. If prompted with a security warning, select "more info" and then "run anyway" to proceed.
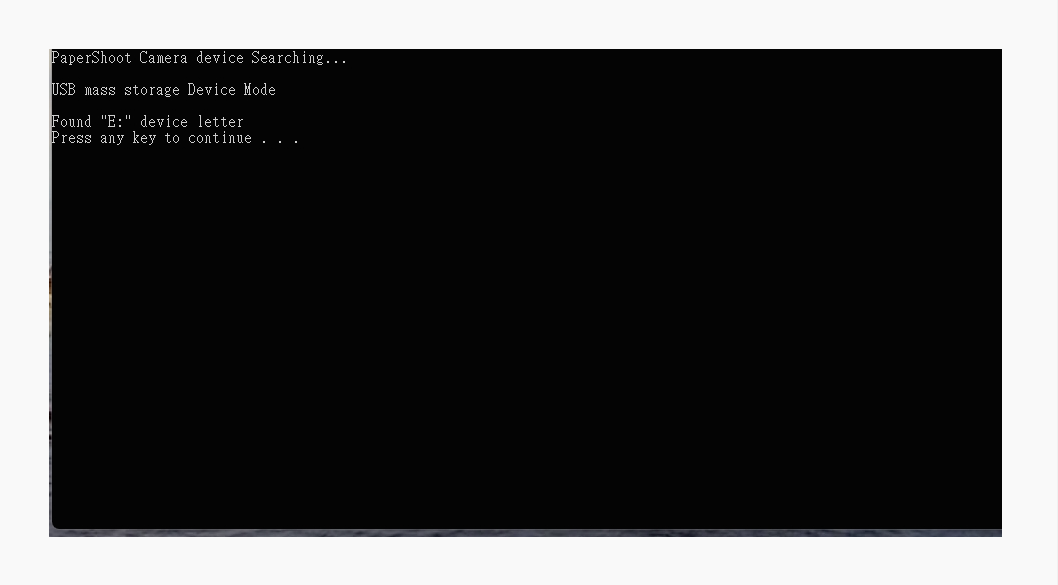
5. Complete the Time Sync: Once the app is running, you'll see a message instructing you to "Press any key to continue . . ." Follow the prompt, and the window will automatically close once the time synchronization is complete.
6. Check Your Photos: After completing the time sync, disconnect the USB cable from your camera and take a few photos as usual. Reconnect the camera to your PC and verify that the timestamps on your photo files are correct.
Note: If your camera's battery runs out, you can replace or recharge it within a day without losing the correct date and time settings.
With these simple steps, you can ensure that your Paper Shoot camera's time is accurately synced with your Windows PC, allowing you to capture moments with confidence and precision.
If you encounter any difficulties, refer to the instruction manual or contact us @ helpme@papershootsg.com for assistance.